All plates generated by an experiment are imaged using the imaging settings you specified when you created the experiment. Once a plate has been imaged, however, you can override the imaging settings used to image each drop. Your changes will take effect starting with the next imaging session.
A drop can include several regions (also called regions of interest). Regions are defined by using Images Tools.
By default, the imaging settings assigned to a drop will be used to image the drop's regions of interest. You can override this default setting for each region. When you modify the region's imaging settings, changes will take effect starting with the next imaging session.
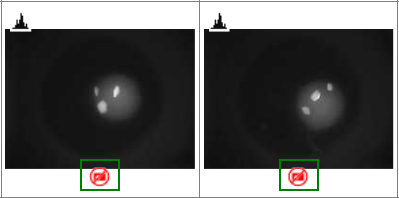
You can turn imaging for a drop on or off by right-clicking on the drop in the Canvas or Drop tab and selecting Disable Imaging. A red slash button (see buttons outlined in green) indicates that imaging has been disabled for a certain drop.

Imaging Disabled for Two Drops